Click here to subscribe to my Video of the Week!
This week’s video shows a mig welding technique while making a dice welding project.
I settled on this project because it involves a bit of layout and fitup, and outside corner joints. I think it would be a great project for welding students as well as anyone who wants to make something while getting some practice on mig welding techniques. Also because it can be finished quickly and for students; that can be important to keep things moving and to build confidence.
For outside corner joints like the ones shown in the video (11 ga, 1/8″, 3 mm), there are several mig welding techniques that would work: moving 1/4″ forward and 1/8″ back, side to side z weave, or overlapping ovals, etc.
It seems the overlapping ovals or circles or “loops” mig welding technique has become my default way to weld.
That is just because it’s simple and it works. In addition, moving the light around seems to help me to see things more clearly and helps me to stay on the joint.
For this welding project, I used .030″ .8mm wire er70s6 hb28 hobart mig wire. 17 volts and around 180-200 inches per minute of wire speed. The mig welder I was using only reads amperage when under load, so I never did get a peek at it. I would estimate amps at only around 100 comparing the puddle to other machines I have used that did display amps.
What lessons can be learned from such a simple welding project?
- importance of cutting metal accurately. (variation in dimensions really adds up when all pieces are supposed to fit together corner to corner)
- layout principles (scribing a grid by dividing the piece in 4ths can be a teaching opportunity)
- importance of deburring saw cuts and cleaning metal prior to welding
- importance of good ground for mig welding (small tack welds are necessary; any misfires from a weak ground make for bigger tack welds and uglier welds, overall)
- importance of using enough tack welds (too few tack welds and gaps can open up)
- setting the mig welder for the sweet spot (on a small piece like this, flaws are hard to hide and so is spatter)
- weld sequence
- mig welding technique on an outside corner joint; one of the most common weld joints for general sheet metal fabrication.
Whether you are building a water cooler tank, drip pan, machine guard, ash collector pan, or you name it, outside corner joints are used often… Especially when a press brake is not available.
( As always, feel free to visit us at our sister site, WeldingTipsAndTricks.com. )
Click here to subscribe to my Video of the Week!


December 18, 2013 at 5:17 PM
Nice job and thanks for sharing your knowledge and experience. I just bought my first MIG welder a few days ago and can’t wait to put your advice to work.
Best Regards,
Ken
August 27, 2012 at 7:13 AM
hi can you tell me why I get a brown stain on top of weld I am using corgan mix gas ???excuse the pun
August 16, 2012 at 9:17 AM
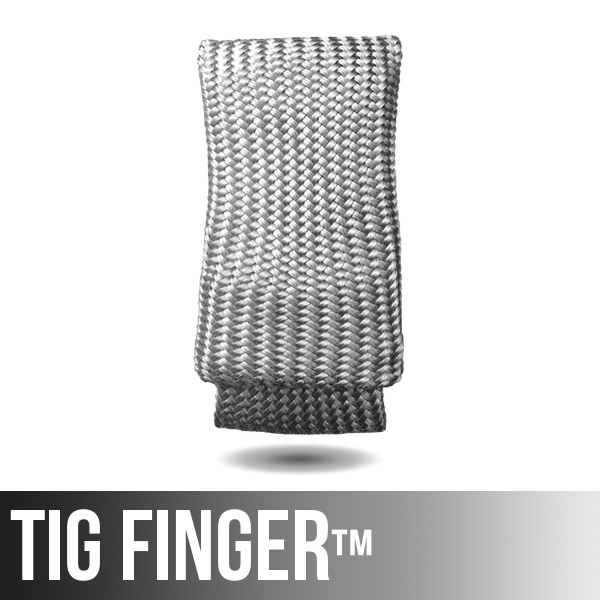
Thanks for another great lesson and video. I look forward to each new entry. My skills have improved dramatically with your help. You are right on about the tig finger, it IS the shiz, and I have been protected for a couple of months now. Please keep up the good work.
Dave.
August 15, 2012 at 2:11 PM
Great project for my students, will try some in Aluminum and Cooper, will let you know how they turned out
Russ Bowling
Potomac Senior High School
Welding Instructor
August 15, 2012 at 12:09 PM
Jody,
Vids are doing great, keep up the work and don’t worry about the tig finger plugs, I love them.
Mike