Below are some products that I don’t carry, but I use them in my videos and can vouch for their quality.
WELDING MACHINES
Lincoln Viking 3350 w/4C
Lincoln Square Wave TIG 200
Lincoln Power MIG 210 MP
AHP Alpha TIG 200X
AHP Alpha 160ST
TOOLS AND ACCESSORIES
Lincoln TIG Gloves
Metabo WE15-150 Grinder
Milwaukee Band Saw
SWAG 4.0 Portaband Table
3M Respirator
BLUE DEMON FILLER METAL
er70S2
er308L
309L
er4043
er5356
er70S2
er308L
309L
er4043
er5356
Video Transcript:
Aluminum Tote Tray Project
I’m putting together an aluminum tote tray today, a pretty good sized one. It’s going to go on the top of a welding cart that I built some while back. It’s what I had in mind when I built the cart. I left a flat surface on the top thinking I would build a large tote tray for it to hold grinders, grinding wheels, sanding disks, what not. We’ll talk about some tips along the way. Let’s get into it.
All right, these are the end pieces that kind of taper up for the handle. I’m going to drill a hole with these little step bits, and I’m going to also use some beeswax on them. I put a link to both these products in the description of this video. You can learn part numbers and things like that if you want. The step bit along with some beeswax works really good. I had some beeswax, used some a long time ago and I don’t know what happened to it. I actually forgot how well it worked. It works a lot better than bar soap and really speeds up the cutting, keeps a hard rock or a sanding disk from loading up. It makes a huge difference in the speed of the cut.
Just doing a little deburring here and making sure that everything’s smoothed out, again, with a little beeswax on a sanding disk. Now, I don’t have a sheet metal brake, so I’m having to do all outside corner joints to make this tote tray, but the cuts didn’t take long. A lot of times, you can actually weld something quicker than you can cutting notches, and brake, and things like that, but the best way to do it is to have broke over corners instead of welded joints wherever you can. Again, I don’t have that equipment.
You need a lot of tack. This is 080 two millimeter thick 3003 aluminum. I’m going to tack it wherever I get a good fit, and then I’m going to come back in between and add a little spot tack trying to make my tacks smaller than the final weld will be. So, I’m tacking with 1.6 millimeter that’s 1/16 thick filler, and then I’m going to weld it with 3/32 2.4 millimeter. This is a strong hand clamp I’m using here, and it’s getting it pretty close, close enough, anyway, that I can use the cup to smash up against there and use it to kind of hold the joint closed, prop it against there, and then get a little tack. Sometimes you have to just puddle a little bit and stab some filler while you’re in there to get the two pieces to join.
Probably get a tack every couple of inches on this thing, just I don’t want to take a chance on something opening up on me. Sometimes it’s very helpful to use a little backing, some kind of little flat bar angle. If it’s hot rolled angle though, I would recommend cleaning it down to shiny bright metal. It really can mess that puddle up if you arch off on the hot rolled mill scale and then pull some of that stuff into the aluminum puddle.
I keep lots of little blocks like this laying around for backing, and for propping on, and for a weight, and things like that come in handy. This is a piece of one inch aluminum tubing that I just had laying around. My thoughts were, I’m going to trim this and leave a little bit hanging over the ends so that I’ll just run a bead without filler metal. That wound up not working too great. I got one tack on here, and I probably should have left about half that much hanging over. You’ll see what I’m talking about in just a second. I’ll weld this thing out, and this is sped up quite a lot, but just to get the arch started, I keep a piece of filler metal in my hand. I mean, it’s washing in there okay, but I left way too much lip there to make it look nice.
Next time, I’ll leave less. Now I’m using a 3/32 diameter rod here. Normally I would use 40/43 on this. This is 3003 aluminum tread plate, and I would normally use 40/43 rod. I’m using a 3/32 size just because I have to feed a lot less. A good rule of thumb there is not to use too much larger filler rod diameter than the thickness of whatever you’re welding, when you’re welding sheet metal that is. Some days, I can go a long time without duffing my electrode, and some days I can’t. The best thing to do when you do that is stop, clean your electrode up, put a nice clean tip in there. I should probably have taken a nice clean stainless wire tooth brush and cleaned that area up before I started back, but I didn’t.
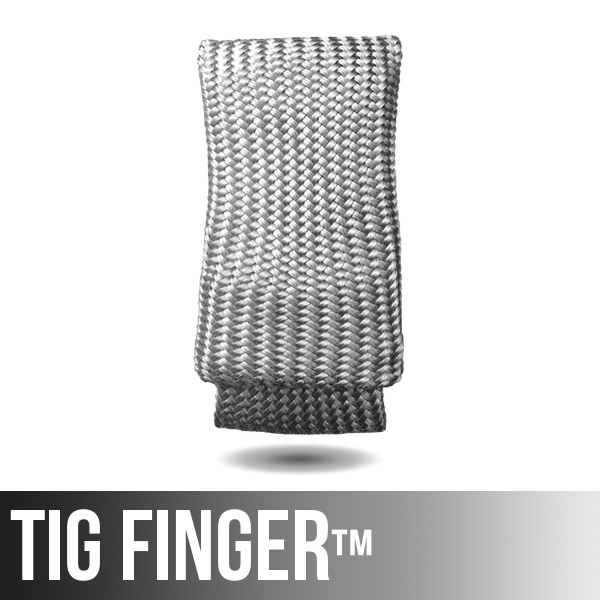
I started out using a standard number five cup here, and I got a little contamination. I was pulling a little air into the argon, so I switched over to a gas lens. On the outside corner joint, it kind of does split the flow a little bit and I think a seven or an eight gas lens does a pretty good job on that. If this was the inside corner or a T-joint, a number five standard would work just fine. Right here, I’m just adding … You can see I’m roughly adding a dip per second. I’m trying to move ahead roughly an eight of an inch per second. If I was more used to this, I’m a little bit out of practice to be honest, I would go just a little bit faster. This is obviously sped up. You can see I’m using the smooth side down, and I hope you can see how nicely that tig finger is just sliding along the thing there and letting my finger stay cool and letting me slide along smooth at the same time.
That’s a 17 style air-cooled torch that I’m using, but I do have the stubby gas lens kit on it that let’s me use this style gas lens. That’s just what I like. All right, we’re closed to being all wrapped up here. I’m going to load it up with grinders in a minute. I got quite a few grinders, at least ten, I guess. That’s a Metabo Six Inch little cheap Ryobi Grinder that I keep a flap disc on, a Four Inch Makita that I keep a flapper adapter on so I can run little sanding pads. I’ll figure out exactly which wheels, and which attachments, and which grinders to keep in there as I go. That’s probably half of my grinders anyway. “I have way too many grinders,” said no welder ever.


Leave a Reply