Video Transcript:
Razor Blade Challenge – Welding Razor Blades
So there’s this thing that’s been going around Instagram for quite a while now. It’s called the razor blade challenge (#razorbladechallenge). And basically, normally it’s welding, most often it’s welding box cutter blades – literally welding razor blades. They’re a little bit easier to manage than the single-edge or even double-edge, really thin razor blades. But it’s all good practice. It’s not just a parlor trick. It’s not just showing off. It’s really good practice.
You can buy a box of box cutter blades for just a few bucks and have a couple of hours worth of practice of welding really thin metal, and using really small filler wire, and get used to focusing your eyes on that little tiny puddle. It’s good practice.
That’s what I’m doing today, welding some box cutter blades, giving some tips on how to increase your chances on having that thing turn out good at the end, things like sharpening your electrode right, using backing, stuff like that.
After we get done showing the arc shots and a few tips for welding box cutter blades, at the end of the video, I’ve got a special deal for you. Hang around till then. I’ll see you at the end.
These things come with a good coating of oil on them to prevent rust, so I’m gonna acetone them up real good. I hope it doesn’t take this many for the video, but it takes a lot of takes sometimes. I’m gonna put a real needle-like point on the electrode using this diamond wheel grinder. You don’t have to use a diamond wheel. I’ll show a little quick tip video in the future on a two-step method for welding razor blades for getting a point kind of like this.
I’m gonna also wipe down the filler rod. And I’m using an O-30 diameter filler rod. Kind of the smaller the better for a job like this. Even when your filler wire seems clean, it never hurts to give it a wipe-down. You always wind up with a little black residue like this. It always helps to wipe your filler.
I’m using this auto-darkening [Octrail 00:01:41] E684 today, and it’s got an adjustment for sensitivity, and it’s got a super-high sensitive adjustment. That’s what I’m setting it to, super-high sensitive. That’s my angry mosquito third hand I built some while back. Got copper tubing for contact points. Seemed to be appropriate for this job. That’s a harbor freight copper spoon. I was thinking about using it to kind of help me hold both pieces down. This is just a junky third hand type tool you could make out of anything, with round stock. It actually works better on this table because of the holes in the table.
All right, let’s get started. I’ve got the machine set at 27 amps, and I’m not gonna use all of it today. Now I’m tacking. I’m lighting up on the aluminum and I’m hanging a little bit of that filler wire over the corners there and letting the arc jump over to it. Watch it again in slow motion. I’m hanging just a little bit of wire over the tip, and I bring the arc over to it, and it jumps right to the wire and balls it up and fuses the two pieces together. That’s just kind of a little trick for tacking really thin metal on an edge, whether it’s box cutters or anything.
This is slow motion again. So now, I stop for a minute once I get them joined. I’m letting it cool, letting the heat kind of even out. And then I’ll take off.
On something thin like this, you kind of want to get the rod in there often, like you don’t want to step out very far without adding rod. Once again here, I’m going up and I’m topping out at 20 amps. That’s all the amperage it needed. These are about 23 thousandths thickness, and you need a little extra, because if you’re using backing like I am here, a big aluminum chunk, sometimes it pulls the heat away and you need a little bit more amperage. Here, tapering off and leaving the wire in the puddle at the very end, and that’s that.
And luckily, I didn’t have to go through all those blades to get this. This is on about take two or three. Got lucky today.
So here’s the deal I have for you. You know, every year, I take all my videos and I put them on a four-disk DVD set. I mean, I don’t do it. My son Jake does it for me. But I put them on a four-disk set. This is the 2016 version, volume six. They’re indexed here on the back with a little table of contents.
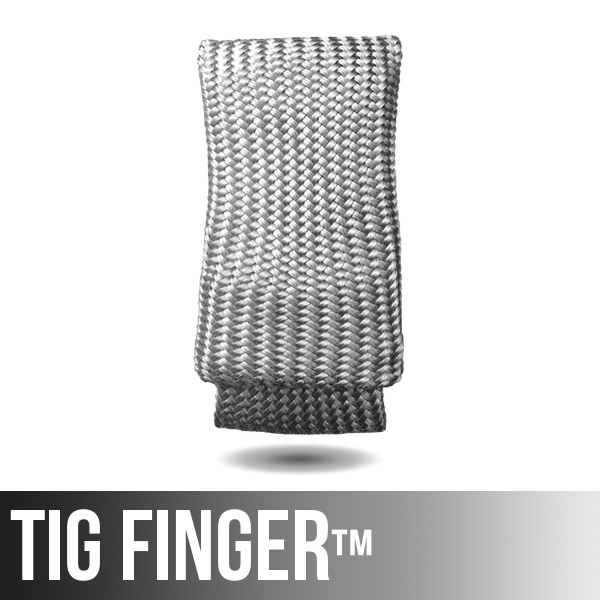
So the deal is this. The DVD plus a Tig Finger plus a Tig Finger XL, all for less than the DVD costs by itself. That’s the deal. I’m also running the same deal with the best of Tig. These are all some of the, these are some of the best TIG welding videos that I’ve done on YouTube. You can get either this and the Tig Fingers or the 2016 set and the Tig Fingers, either one. It’ll be at weldmonger.com. This is how I pay the bills. I really appreciate your support.
The offer is good from now until July 4th. Thanks so much for watching. See you next time.


Leave a Reply