Video Transcript
More walking the cup TIG Welding Tips
In a previous video I welded up some pieces of box tubing to some base plates just because I had them laying around. I thought it would be a good little lesson on tie ins and things like that. Well, I had that piece laying around, didn’t know what to do with it, so I thought, I’ll put a second pass on there and we’ll talk a little bit about walking the cup and how to select the right cup size for that, because that is kind of important.
People argue about what’s walking the cup, what’s wiggling the cup, it’s all walking the cup to me, it’s just a little different technique when you’re down in the groove of a pipe or the first couple of passes on a filler weld, you’re more like just wiggling the cup, whereas on the outside of a pipe, on a cover pass on a pipe, you’re walking it like you would walk a drum across the floor. You’ll see all this as we go. So I’m going to talk about cup size and then at the very end of the video, I’ll show some clips of a previous walking the cup video where walking the cup on the outside of something round, and I’ll throw in a little commercial for my tig finger product at the very end. Let’s do it.
Very briefly here, very quick review of the previous video where I welded these two mounting plates on some box tubing. I was using a number 12 ferric ceramic cup, which I had just added to my store, it’s at weldmonger.com. Cup performed really, really well. It’s another version of the FUPA 12, which is Pyrex, but this is much tougher and does a great job of shielding with a long stick out.
So once that was done, even though it barely discolored at all, I hit it with a wire brush here a little bit because I’m going to put a second pass on it, and I’m going to do the whole second pass just walking the cup, so that leads us to talking about cup size for walking the cup.
Cups are sized by inside diameter and a number four would be four sixteenths, or a quarter inch, and number five is five sixteenths, and so on and so forth. And when you lean them back, you gotta account for the amount of weld you’re going to deposit and so you need it at least big enough to where it rides on the sidewalls instead of on the weld. So I’m getting close here with a number six. And I think a number seven would be even better. And then once I thought about that I thought you know what, I’m just going to jump up to a number eight gas lens, which is kind of like my go to for general stuff like this anyway.
This is a number eight gas lens cup and I’m going to be using with a stubby gas lens kit on an air cooled 17 torch, one that came with the Lincoln Square Wave Tig 200. And the stick out is important too, and roughly a rule of thumb for stick out on walking the cup would be usually it’s not much more than the inside diameter of the cup, so this is an eight. It’s not going to be more than half an inch, probably closer to seven sixteenths. And you can see as I’m wiggling it there, I’ve got plenty of space under the cup as I wiggle it along for the cup to rest on the sidewalls instead of on the weld.
Now, a little bit about how you hold the torch. Lots of different ways to do that, this is one way. It gets everything kind of out of the way, I’m just raising my arm kind of up and down and what it does is it just wiggles the cup and rocks the tungsten back and forth and breaks a little surface tension on what you got it resting on, and it moves it along at a nice even pace. You don’t want to grip the torch like a gorilla, you don’t want to strangle hold it, and you can see here I’m running into the thing with the neck of the torch, so another method would be tilt it up like this. Just a lot of different ways to do it.
I’m just going to pick on and go with it. I’m going to set the machine to 177 amps just because I think that’s easier for everybody to remember then, I don’t know, I like the number seven. And I’m pretty much going to be full pedal here. When you get rods from the welding supply store, a lot of time they put rubber bands on them, and that’s fine for a little while, but if you leave them on for very long, it gums up the rod and you have to acetone it off. I’m using a one eighth diameter, 3.2 millimeter ER, EO nine here just because I didn’t have many one eighths ER 70 rods, I wanted to save them for another project until I get some more.
So this is how I’m holding the torch, the first method I demonstrated there. And basically, I’m just kind of ramping up the amperage until I put rod in there and then I’m pretty much full pedal. I’m just rocking it wide enough to make a flat face of the weld, not so wide that I get any undercut up on the top. I’m keeping light pressure on the rod so it doesn’t come loose from the puddle. So grip the torch kind of lightly and keep light pressure on the rod.
You’re at 170 something amps and you’re welding on something this thick, you don’t have to taper on very slowly at all, unless you’re welding on some kind of crack sensitive alloy, which this is not.
Okay, so you see I’m wrapping those corners around, that cup is kind of wanting to dip into that drilled hole, but I’m just kind of being careful on the corners, going a little slower, you know, bumping the cup from wall to wall.
Lets look at that again. Just kind of pausing briefly on those weld toes. That’s the edges of the weld, and wiggling the torch, and it moves itself along and puts a nice little weave pattern in something. Again, just go wide enough so that the weld face is flat, not so wide that you have undercut at the top, which is where the undercut will usually wind up being, just due to gravity.
Let’s take a look now at a really narrow wiggling the cup, like if you’re going to put a root pass in a fill it weld like this. You just don’t move the torch much at all. Just enough to break tension. Just keep that tip of that electrode baring down right on the tip of the wire and keep very light pressure on the wire. Don’t jam it in there or anything. It goes in pretty good. Every now and then that wire might come loose from the puddle. Don’t sweat it, just push it right back in there, easily. Don’t jam it. It’s just an easy way to travel a really long distance without having to prop on anything or get your hand hot.
I’ll go ahead and show that second pass on here, too, just because it kind of came out pretty good. Now, let’s talk about walking the cup on the outside of a round surface. A number 12 cup sometimes if you’re going to go wide at all, really comes in handy because the wider the weave, the bigger the cup. You have to do a lot less wrist action or a lot less chicken wing action or whatever you want to call it with a bigger cup. So a 12 works good on something like this, which is kind of a mock up on a four to six inch schedule 80 pipe joint, the cover pass. I just didn’t happen to have any pipe around, so I scored some grooves in this real heavy wall tubing here.
It’s like walking a drum across a shop floor. Little figure eight. The more you do this, dry runs like this on a piece of round something, pipe, tubing, round stock, the more you do this without the helmet down, the more second nature it becomes with the helmet down. It’s good practice.
So here I am doing that and this is roughly the cadence, a lot of guys go a lot faster, sometimes I do, just depends on what it is, but with the heat that I’ve got set here and the diameter rod and the width, this is a nice easy pace. If I was in production in a pipe shop, I might be really cranking out a little bit faster trying to really get things done.
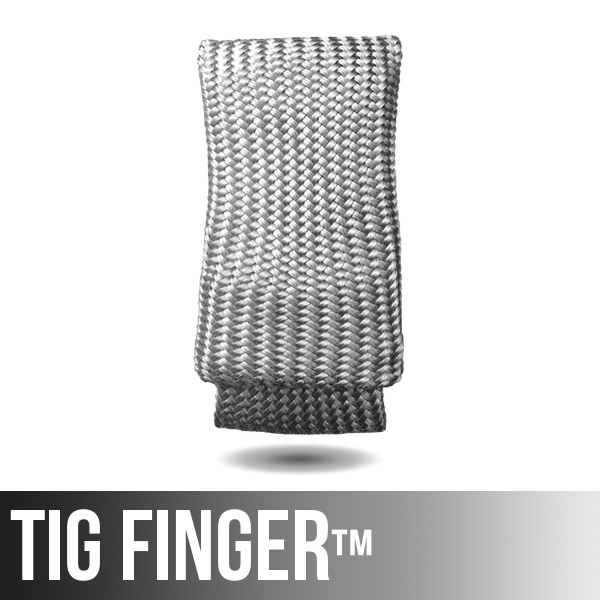
Here’s a little close up to that. Again, don’t do anything like whip across the middle or anything, just pause for just the slightest amount of time on those edges and then move back across the middle. Now, not everybody wants to learn how to walk the cup. Occasionally you have to do a weave or weld something without that, so there’s a little quick shameless plug for my tig finger product and this piece is already nice and hot from welding on it, but you can see here I’m going to camp out on this thing a long time right next to the weld and I’m just going to kind of copy cat what I did with the walking the cup there with just a little Z weave. So it’s going to wind up looking roughly the same. Usually walking the cup winds up more uniform just because it just works.
I’m hanging out there, my finger’s not getting hot at all, and I made a weld just about like walking the cup weld. You can learn more about these tig fingers at weldmonger.com. Appreciate you watching, see you next time.


Leave a Reply