1.) TIG Welding Beads without Filler Rod
[viddler id=a618e7e2 w=746 h=459]
| Materials Needed |
1/8″-1/4″ (3mm-6mm) thick steel plate, Cold rolled is best.
Hot rolled works provided all mill scale is ground away to clean bright metal |
| Metal Preparation | Grind or sand to clean bright metal |
| Machine Settings |
DCEN, Amperage range 100-140 amps, torch gas 15 cfh,
cup size #7 |
After you learn basic welding safety, the basics of tig welding, machine settings, electrode basics, and metal preparation, its time to light up.
The first skill drill we are going to do is just welding tig beads without using any filler metal.
This drill can be done using any tig welder than can produce about 100 amps DCEN.
Since there are several levels of tig welding machines that will be used, I wont know exactly which type you will be using but, I will name a few.
The most basic machine is pretty much a DC stick welding machine with a tig torch connected to the negative cable. All that is needed other than a tig torch with a gas valve on the body is a cylinder of argon and you have a basic scratch start tig rig. This simple setup is also referred to as a “dry rig.”
A slightly better setup would be a DC only tig machine with lift arc feature.
Lift arc is a bit easier to start without messing up the tip of the electrode.
Next up the ladder might be a DC only tig machine with lift arc and a torch switch or amperage control that allows termination of the arc while still shielding the puddle with argon.
Ideally, a dc tig welder with torch switch option along with a foot pedal control will work best for this skill drill because the torch switch can be used at a predetermined amperage for several beads before intruducing a foot pedal amperage control. Why? Because its just a bit easier to learn one thing at a time.
With a torch switch , amperage can be set on the machine and you can focus solely on the puddle, electrode angle, arc length, and travel speed.
I know there will be all types of machines being used for this drill so I am just trying to cover most of the bases. The things to pay attention to on this skill drill are: the size and shape of the puddle, electrode angle, arc length, and travel speed. size of the puddle should be around 1/4″ or 6mm and it should be kind of egg shaped or semi round


April 28, 2014 at 7:49 PM
Thank you so much for the videos. I just found the Welding U and it is fantastic. I recently cleared some of my land and almost have my welding shop built. My new welders and Plasma cutter are in the house awaiting their new home. Can’t wait to do the training drills and start welding. Thank you so much for your time!
April 7, 2014 at 6:50 PM
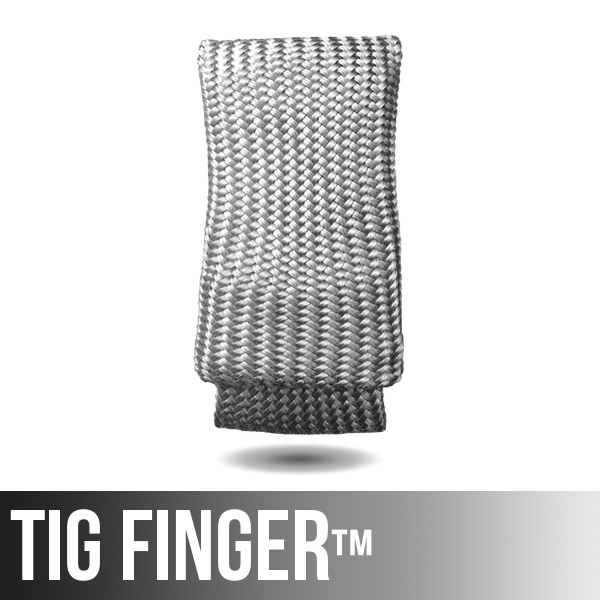
love the tig finger,got 1 for my brother and a lifelong friend. you are without a doubt
the best teacher regarding any subject i’ve investigated in my 62 yrs. on this planet.
the world needs many more people like you!
chuck
March 10, 2014 at 9:38 PM
Well, praise the Lord! I have probably learned more from you than my welding instructors. I show my appreciation by buying your products. Whatever you do, keep makin’ videos. I need more certs to keep mamma happy. FYI w/light gloves inside Welding gauntlets, & one of your old well-worn TIG fingers, you can stick it right into the molten puddle when you are about out of 7018 rod on a long vertical weld (upside down 40′ off the floor)!
Ruins the TIG finger, of course, but it sure beats gettin burned! & You make more of em! Thanks again
February 25, 2014 at 9:46 PM
You are the best Jody, I truly appreciate your “video habit” generosity.I have been anxiously awaiting this Welding U feature addition and look forward to more.I am a customer as well so I am a supporter.A baseball cap with your Weldmonger logos would be awesome to see soon so Go Knock It Out !! Thanks again for your instructionals.